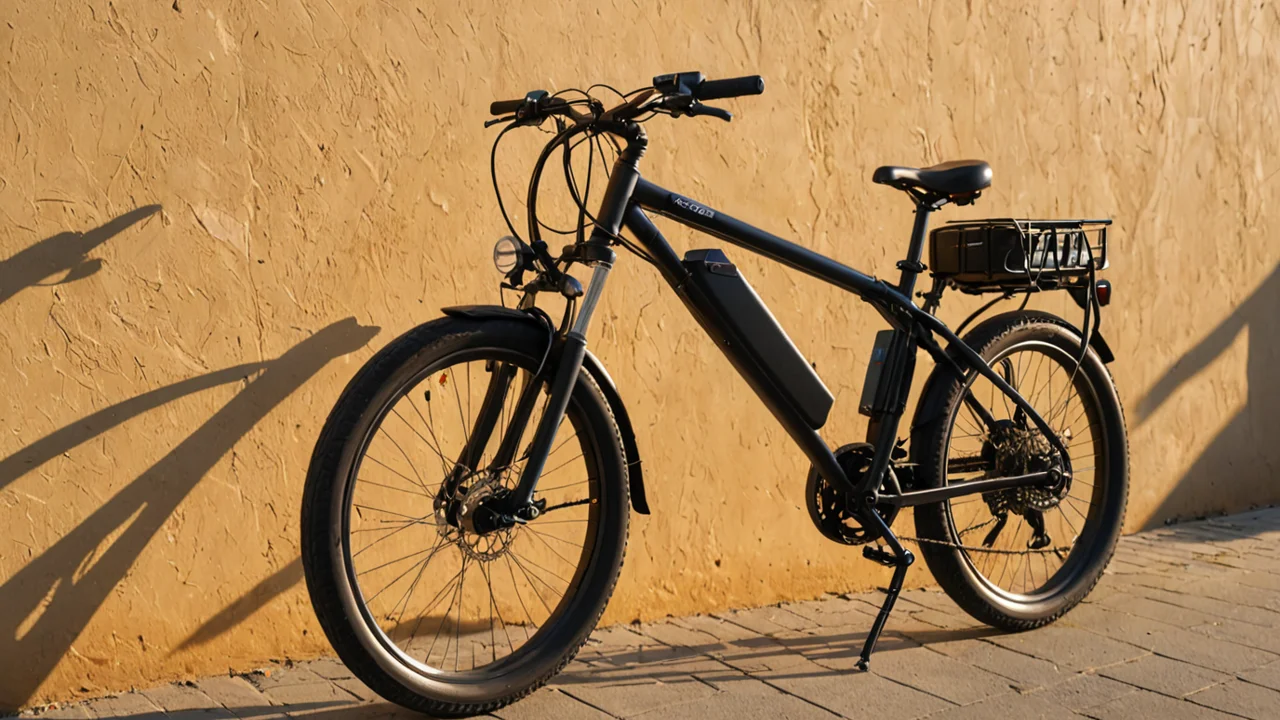
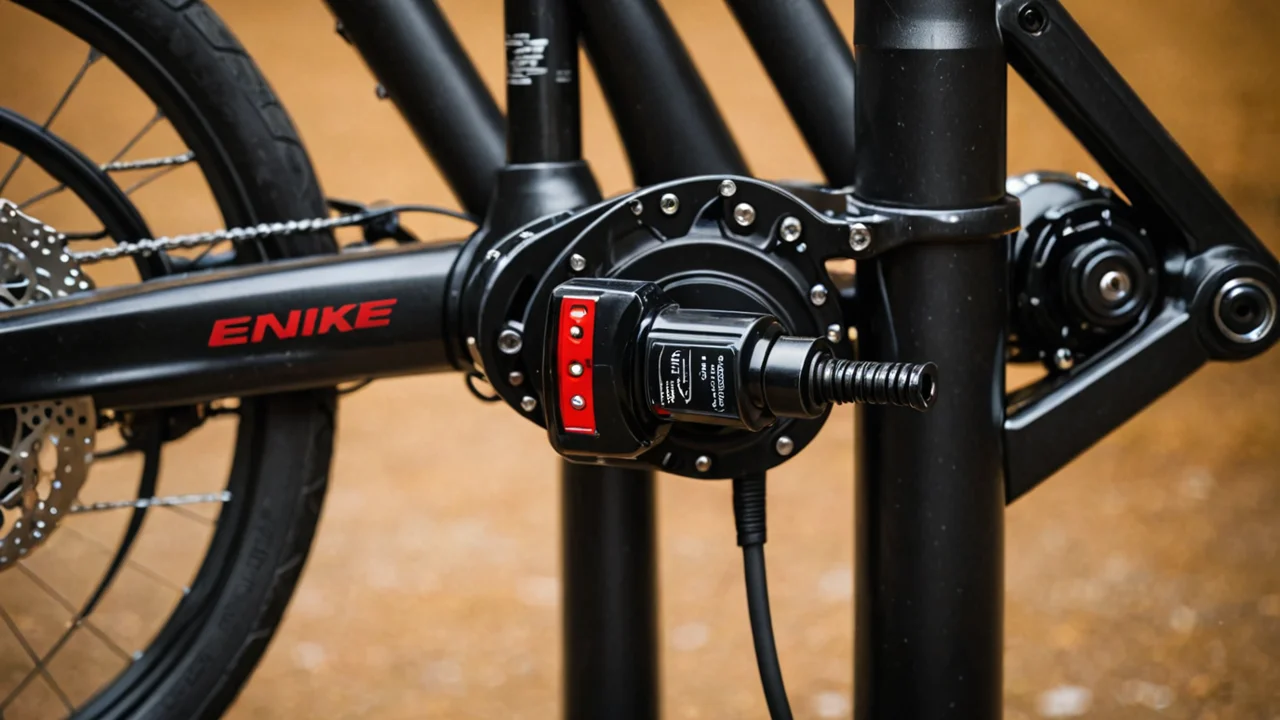
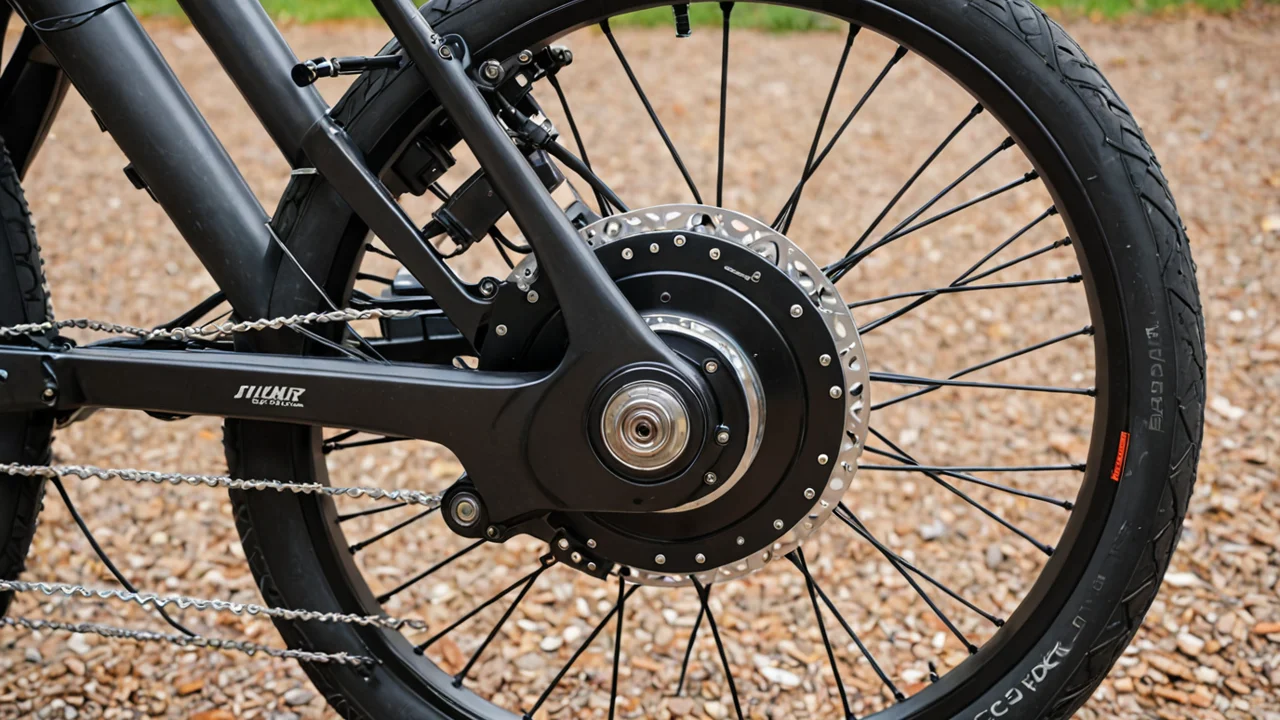
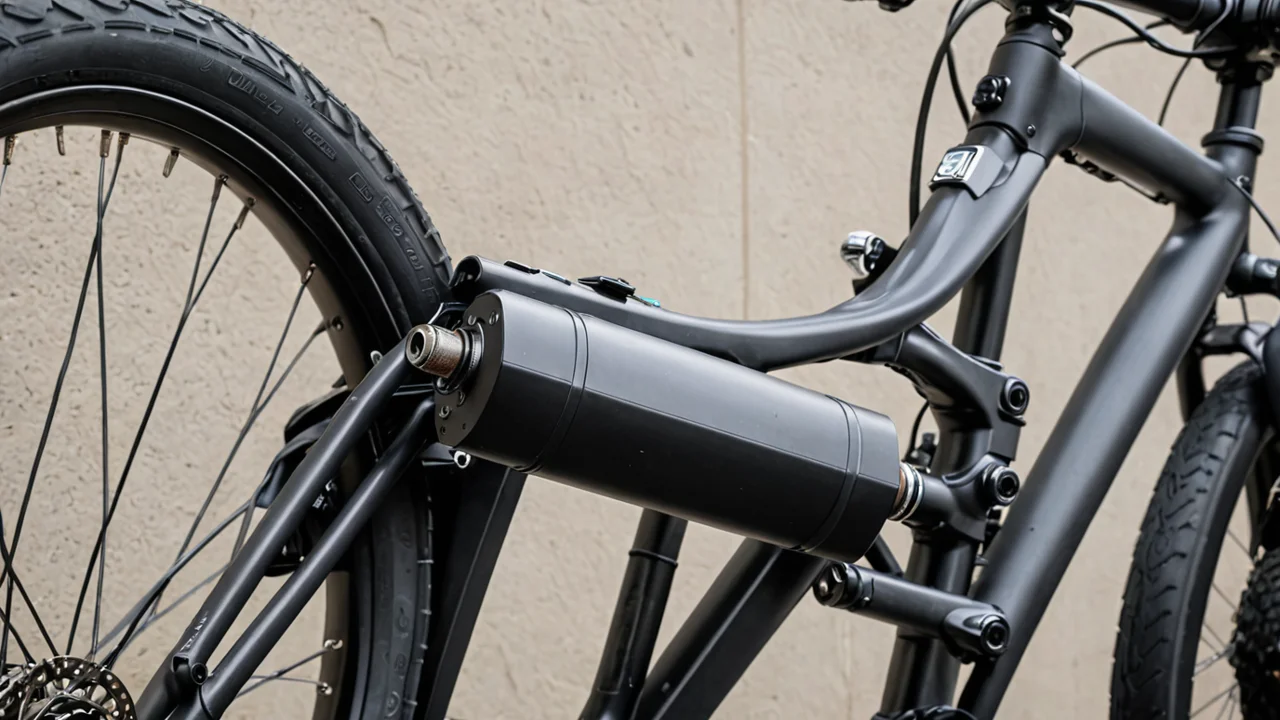
Almost every bike-model and setup question resolves to the same short list of decisions: what the frame geometry does to your position, what the tires and gearing cost you in speed or comfort, how the fit numbers (saddle height, reach, bar width) get set, and — if there's a motor — which legal class you're actually buying. Get those four right and the rest is preference. Get the frame size or the e-bike class wrong and no amount of component swapping fixes it cheaply.
Frame geometry is the decision you can't undo later
Buy the frame that matches your riding position first; everything else bolts on and off. Stack (vertical distance from bottom bracket to the top of the head tube) and reach (horizontal distance to the same point) determine whether you end up hunched, upright, or stretched out, and those two numbers are fixed the moment you choose a size. A bike that's one size too small can be stretched with a longer stem and a setback post, but you pay for it in steering feel — a long stem slows the handling and puts more weight over the front wheel than the frame was drawn for.
The practical sequence when you're comparing models: match the stack you need for your intended posture, then the reach, then look at the chainstay length and bottom bracket drop, which govern how the bike behaves loaded and how much clearance you get for wider tires. A gravel frame with short chainstays will feel lively empty and nervous with a full bikepacking load; a touring frame with long stays feels sluggish on a fast group ride. Neither is wrong — they're different jobs.
Tire clearance is the geometry spec people regret ignoring most. Frames are the one part of a build you can't widen with a wrench, so if there's any chance you'll want to run wider rubber on rough surfaces or in winter, buy the frame that already clears it. The cost is real: more clearance usually means longer chainstays and a slightly less sharp-handling bike, and some road frames simply won't take anything much beyond a standard road tire.
E-bike classes: what the law actually says, and why it matters at purchase
In the United States, a low-speed electric bicycle is defined under 15 U.S.C. § 2085 as a two- or three-wheeled vehicle with fully operable pedals and an electric motor of less than 750 watts, whose maximum speed on a paved level surface, powered solely by the motor and ridden by an operator who weighs 170 pounds, is less than 20 miles per hour. That federal definition dates to 2002 and is the floor everything else builds on. If a machine exceeds it, it isn't a low-speed e-bike in federal terms, and you should treat the paperwork accordingly.
The class system sits on top of that definition and is what actually determines where you can ride:
- Class 1: motor assists only while you pedal, and cuts out at 20 mph. This is the class accepted on U.S. federal lands, and the one most land managers and trail systems are set up for.
- Class 2: motor under 750 watts that can drive the bike on a throttle without pedaling, limited to 20 mph motor-assisted. Convenient for commuting and for riders who want help getting going; barred from many natural-surface trails.
- Class 3: pedal-assist with a higher cutoff — CPSC regulatory proceedings reference a 28 mph capability limit. Faster on the road, and commonly restricted from bike paths and trails where Class 1 and 2 bikes are allowed.
The purchase decision follows from where you actually ride, not from the spec sheet. If your riding is mostly paved roads and you want to keep pace with traffic on descents and flats, a Class 3 bike earns its keep — but check your state's rules and your local path regulations before assuming you can use it everywhere, because the 28 mph ceiling is exactly what gets it excluded. If you want trail access, buy Class 1 and accept the 20 mph cutoff; it's the class that federal lands and most trail agreements recognize. A throttle (Class 2) is genuinely useful for stop-start city riding and for riders returning from injury, at the cost of being unwelcome on a lot of singletrack.
One thing to verify at the shop rather than trust from marketing: whether the motor cutoff is set to the class you're being sold, and whether it can be re-flashed. Some bikes ship Class 3-capable and are delivered restricted to Class 1 for trail use; others can't be changed at all. Ask which it is before you pay, because a dealer re-flash later is a hassle and an aftermarket hack can void your warranty and put you outside the federal definition.
Choosing between model categories without overbuying
Pick the category by the surface and distance you ride most weeks, not by the ride you're imagining. A road bike rewards smooth pavement and long distance; a gravel bike trades a little sharpness for tire clearance and stability on mixed surfaces; a hardtail or full-suspension mountain bike is built for terrain where the surface itself is the challenge. Buying a mountain bike for path riding costs you weight, rolling resistance, and maintenance you'll never need — and buying a road bike for fire roads costs you confidence and, eventually, a wheel or two.
Mountain biking carries a genuine injury risk that's worth knowing before you decide how much bike to buy: recreational mountain biking showed an injury rate of 1.54 injuries per 1000 biker exposures in 2011 data. That number shouldn't scare you off, but it does argue for spending on tires, brakes, and a helmet before spending on drivetrain upgrades — the parts that manage a crash matter more than the parts that save grams.
The honest trade-off across every category is that the bike designed for the hardest 10% of your riding will feel compromised for the other 90%. Most riders are better served by the middle of a category than by its most specialized end, and by a frame with clearance and mounts they may not use yet over a frame optimized for one narrow purpose.
Fit: the numbers to set, in order, and what each one changes
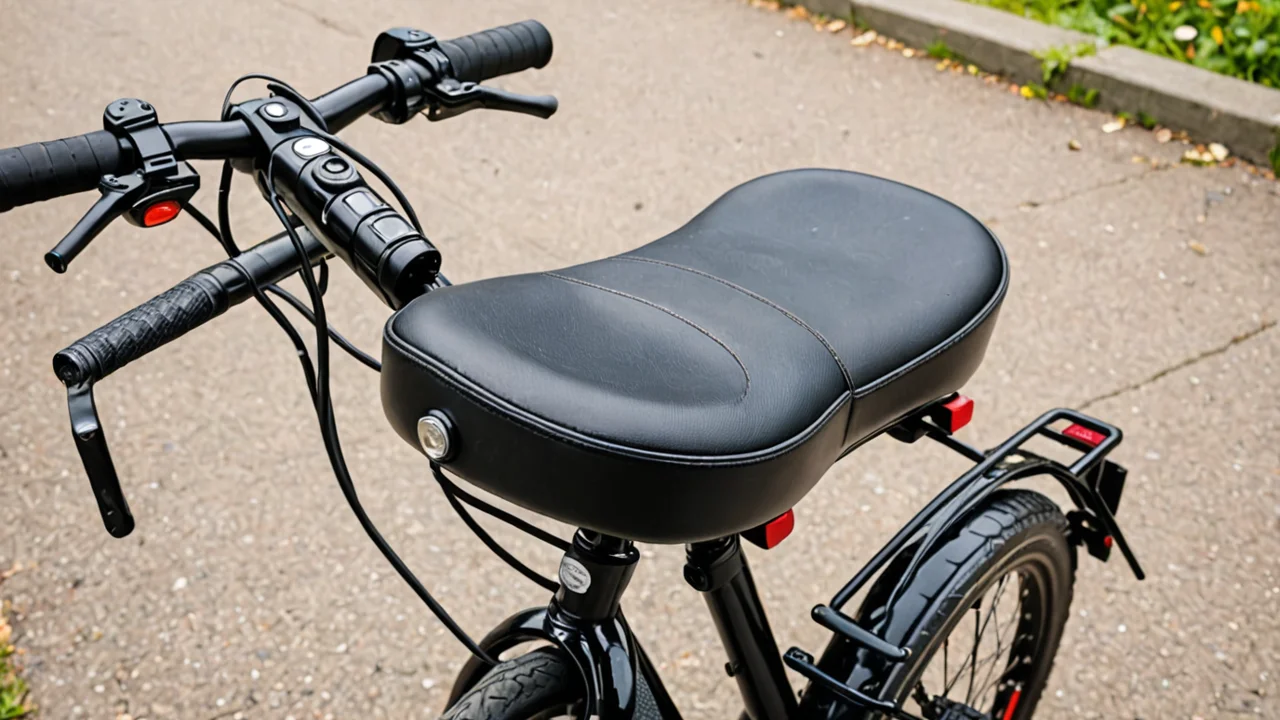
Set saddle height first, then fore-aft position, then reach to the bars, then bar width and angle. Doing it in any other order means redoing the earlier steps. Saddle height is the one that causes problems fastest — too high and you'll rock your hips to reach the pedals, which shows up as knee pain on the outside of the joint and lower-back ache after an hour; too low and your knees complain under load. Adjust in small increments and ride each setting for a real distance before changing again, because a few millimeters is perceptible and a big jump at once tells you nothing.
Fore-aft saddle position sets how your knee tracks over the pedal, and it's the adjustment people make to fix reach problems that are actually stem problems. Move the saddle to fix pedaling mechanics; change the stem or bars to fix reach. Mixing the two is how riders end up with a saddle slammed forward and a bike that handles badly because their weight has shifted onto the front wheel.
Bar width and lever position are the last 10% that make a surprising difference. Wider bars give more control on rough ground and more leverage climbing, at the cost of aerodynamics and, on tight trails, tree clearance. Lever angle should follow the line of your forearm when you're in your normal riding position, not when you're standing next to the bike. The cost of a proper fit is time and, if you pay a fitter, money — the return is that every other upgrade you make actually gets used.
Tires, gearing, and brakes: where setup money goes furthest
Tires change how a bike feels and performs more per dollar than any other component. Width and tread determine grip, comfort, and rolling resistance; pressure determines whether you get the benefit. Running too much pressure is the most common setup error — it makes a wide tire feel harsh and skittish, and it's free to fix. Drop pressure in small steps until the ride gets vague or you start pinching on rough ground, then come back up slightly. Tubeless setups let you run lower pressure without pinch flats, at the cost of more frequent sealant checks and a bit more setup fuss.
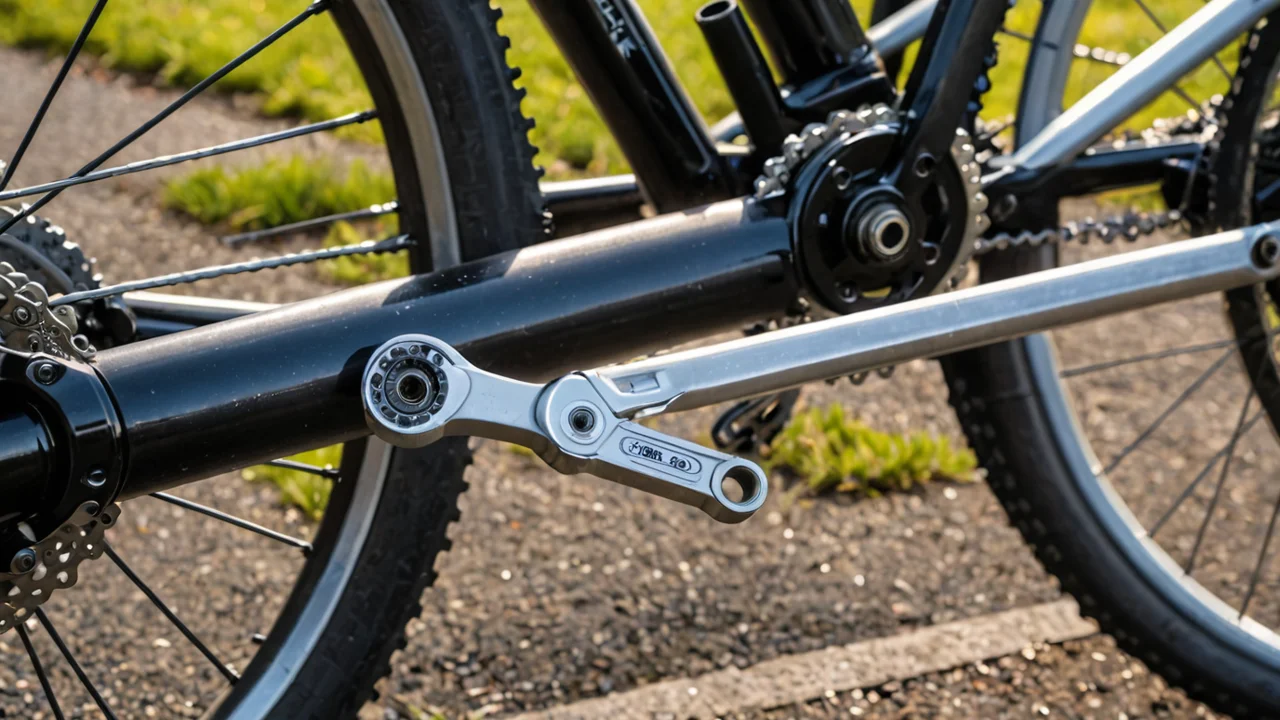
Gearing should match your terrain and your fitness, and the cheap fix is usually the cassette or chainring rather than a whole groupset. If you're grinding up the steepest local climb and running out of low gears, a wider-range cassette or a smaller chainring buys you climbing ability at the cost of top-end speed you may never use. The reverse applies if you spin out on descents — but be honest about which one actually happens on your rides.
Brakes are the component where upgrading is almost always worth it before anything else on a descending-heavy bike. Disc brakes with larger rotors and decent pads give consistent stopping in wet conditions where rim brakes fade and wear the rim itself. The trade-off is weight and, on older frames, compatibility — you can't retrofit discs to a frame that wasn't built for them, which loops back to buying the right frame first.
Setup for e-bikes specifically, and what to check before the first ride
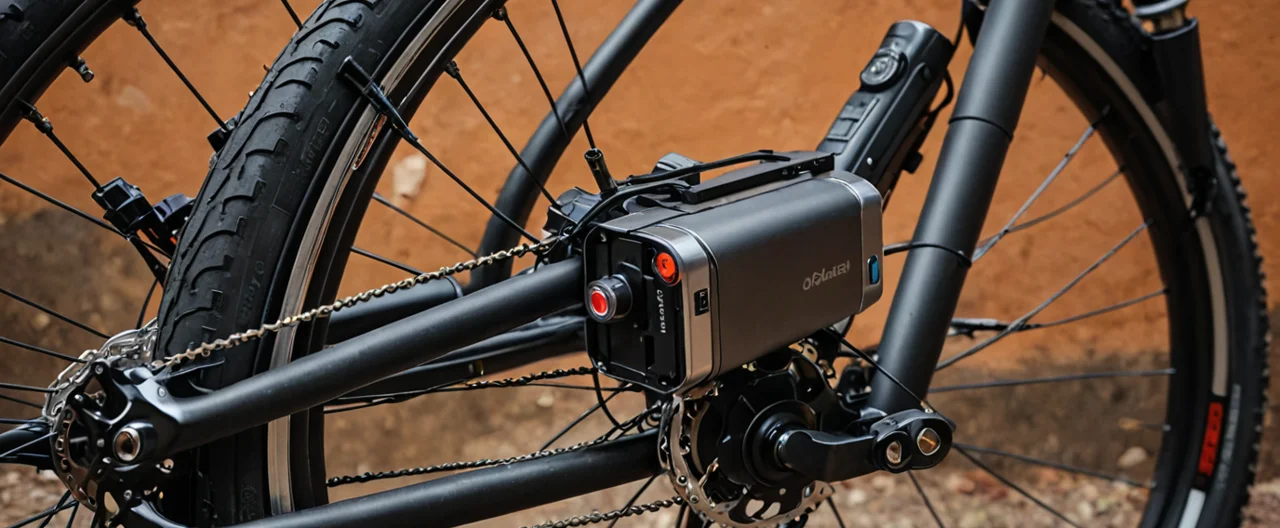
An e-bike's setup decisions start with the class and the battery, not the saddle. Confirm the motor cutoff speed matches the class you intend to ride, confirm the battery is removable or not (it changes how you store and charge the bike, and whether you can carry a spare), and confirm the range figures you were quoted were measured under conditions like yours. Assist level, not fitness alone, dictates how far you'll go, and a bike ridden mostly in the highest assist setting will fall well short of its best-case range.
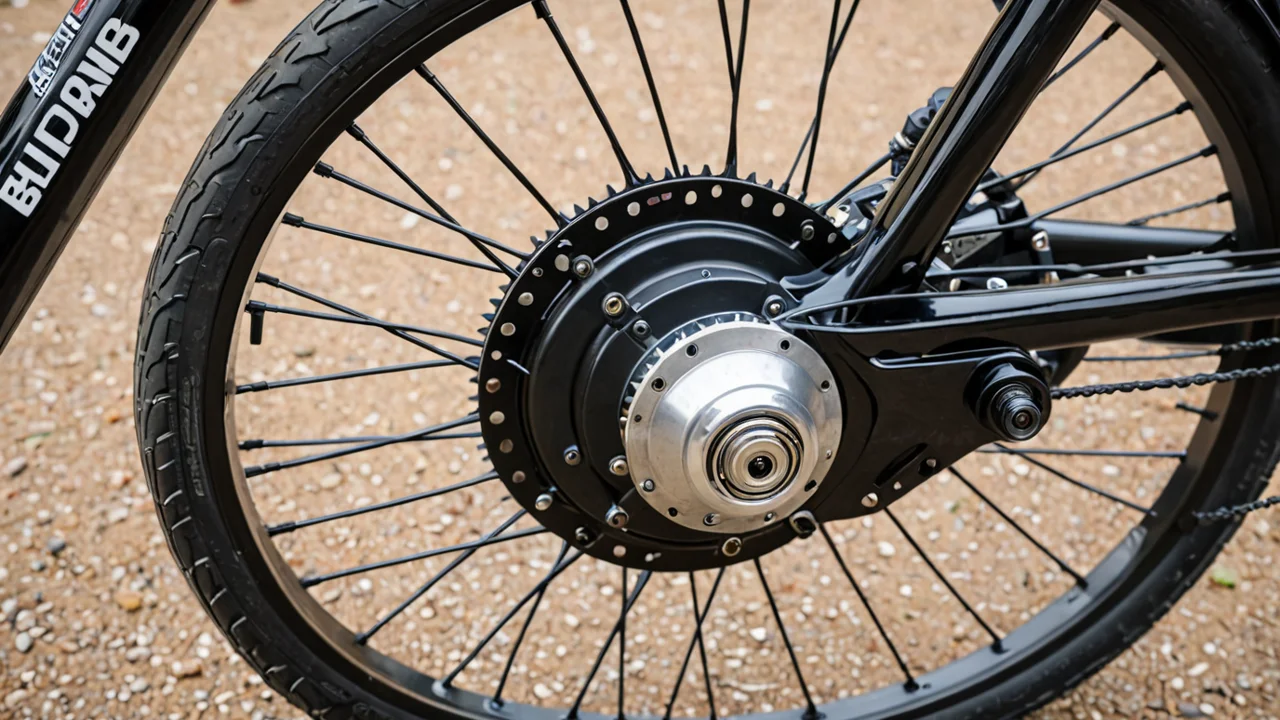
Weight changes everything downstream. E-bikes are heavier than their unassisted equivalents, which means brakes, tires, and wheels carry more load and wear faster, and it means the fit numbers matter more — a slightly wrong saddle height on a heavy bike is felt sooner. Check the torque on the motor mount and axle bolts after the first few rides, because they settle. If the bike has a throttle, practice low-speed control in an empty lot before mixing with traffic; throttle response varies a lot between models and the difference shows up at exactly the moment you don't want it to.
The honest limitation of the class system is that it's a patchwork: federal lands, state law, and individual trail agreements don't all line up, and a bike that's legal on your commute may be prohibited on the path at the end of it. Buy for the strictest place you actually want to ride, and you'll never be the person arguing with a ranger about a spec sheet.
Class 2 throttle bikes and the trail-access problem
A throttle is the single most likely feature to get you turned away from natural-surface trails, so decide before purchase whether you need one. In federal and state policy discussions, a Class 2 e-bike is a low-speed electric bicycle with a motor under 750 watts that can provide assistance via a throttle without pedaling, with motor-assisted speed limited to 20 mph. It meets the same federal definition as a Class 1 bike, but the throttle is what many land managers exclude.
The reason is behavioral, not mechanical: a throttle lets the bike move with no pedaling input, which reads as a motorcycle to trail managers even though the speed limit is identical. That matters because Class 1 is the class recognized on U.S. federal lands, with assistance ceasing at 20 mph — the same ceiling, but pedal-only. If trail access is anywhere in your plans, buy pedal-assist and skip the throttle, even though it's genuinely useful for stop-start commuting and for riders coming back from injury.
Some Class 2 bikes can be reconfigured to pedal-only operation. Ask the dealer whether the throttle can be disabled or the bike re-flashed, and get the answer in writing, because a bike sold as Class 2 that can't be changed leaves you choosing between your commute and your trails.
Where the 20 and 28 mph ceilings actually come from
The 20 mph figure isn't a class rule — it's baked into the federal definition itself, which is why every class starts there. Under 15 U.S.C. § 2085, a low-speed electric bicycle's maximum speed on a paved level surface, powered solely by the motor and ridden by an operator who weighs 170 pounds, must be less than 20 miles per hour, alongside fully operable pedals and a motor under 750 watts. That definition dates to 2002 and sets the outer boundary; the classes only divide what fits inside it.
Class 3 is the awkward one, because 28 mph sits above the motor-only ceiling. CPSC regulatory proceedings reference a 28 mph capability limit for Class 3, and that higher cutoff is exactly what gets the bike excluded from paths and trails where Class 1 and Class 2 bikes are welcome. It's also why the class system and the federal definition don't map cleanly onto each other: a Class 3 bike still has to satisfy the federal motor-only test to be a low-speed e-bike at all.
The 170-pound operator detail is worth knowing when you read a spec sheet. It's the test condition for the motor-only speed limit, not a statement about who can ride the bike, and a heavier rider will see different real-world behavior from the same motor. Don't treat a quoted cutoff as a guarantee under load.